Lalki Tilda to piękne elementy dekoracji oraz wspaniałe zabawki z duszą. Lalki są niepowtarzalne, każda ma swój indywidualny charakter. Są dwa rodzaje ciał lalek Tilda uszyte w całości z jednego materiału oraz mające na sobie niezdejmowane części garderoby np. gorset,spodenki lub buty (szyte z dwóch różnych materiałów). Ja pokażę jak uszyć łatwiejszą Tildę z całości materiału.
Tilda dolls are beautiful decoration items and great toys with a soul. Dolls are unique, each has its own individual character. There are two kinds of bodies Tilda dolls sewn entirely of one material and sporting garments such non-releasable. Corset, pants or shoes (stitched from two different materials). I’ll show you how to sew easier Tilda easier of one whole material.
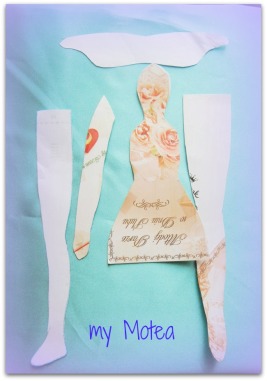
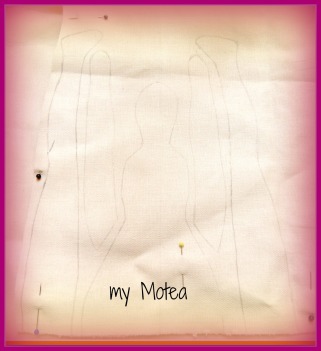
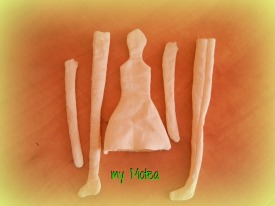
Pierwszą czynnością w szyciu lalki Tilda jest narysowanie lub wydrukowanie szablonu na kartce. Są dwa rodzaje szablonów z narysowanym zarysem nosa oraz bez niego. Szablon wybieramy w zależności od tego czy chcemy by nasza lalka miała wystający nos i szew widoczny przez środek twarzy lub nie. Ja wybrałam szablon bez zarysu nosa. Szablon układamy na podwójnie złożonym materiale i przerysowujemy go na materiał zostawiając odstępy na późniejsze wycięcie.
The first step in making dolls Tilda is to draw or print the template on the sheet. There are two types of templates with the drawn outline of the nose, and without it. Choose a template, depending on whether we want to make our doll with protruding nose and seam visible through the center of the face or not. I have chosen a template without the outline of the nose. Pattern put on twice folded material and repaint it on the material, leaving gaps for later excision.
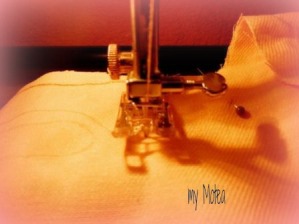
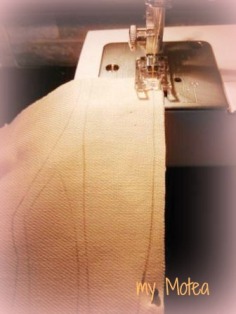
Użycie przeźroczystej stopki to znaczne ułatwienie dla początkujących. Aby równo szyć po linii na zakrętach należy podnieść stopkę przy igle pozostawionej w materiale.
Using transparent footer is a great facility for beginners. To sew the straight lines on the curves should raise the presser foot with the needle left in the material.
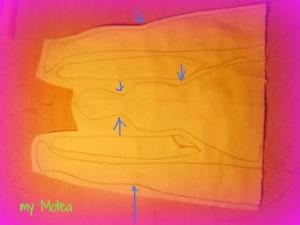
Wycinając poszczególne elementy dobrze jest zrobić dwa maleńkie nacięcia w miejscach wcięć na szablonie czyli np. w talii, z tyłu pod kolanem, na szyi dzięki tej czynności elementy będą się ładnie układać.
Cutting out the individual elements you should do two tiny incisions in the indentation on the template for example. at the waist, the back of the knee, neck, elements are nicely arranged through this action.
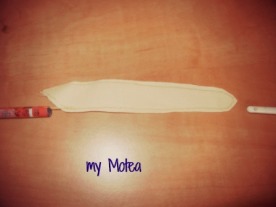
Aby ułatwić sobie wywijanie na drugą stronę wąskich elementów można użyć dwóch delikatnie zakończonych przedmiotów. Jeden wkładamy do wywijanego otworu, drugi zaś ma się z nim stykać na zewnątrz.
To make it easier to fold down the other side of the narrow elements you can use two slightly pointed object. One put into the everting hole, while the other is in contact with the outside.
Delikatnie przesuwamy materiał.
Gently move the material.
Po wywinięciu wszystkich elementów całość prasujemy, aby zapewnić ładny, estetyczny wygląd.
After inverting the whole ironed all the elements to ensure a nice, finished look.
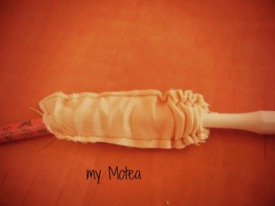
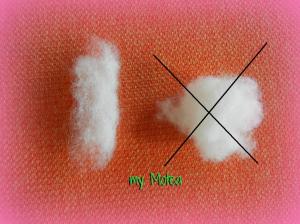
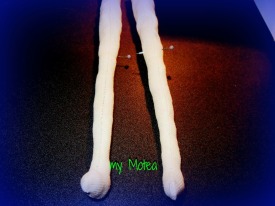
Do wypełnienia polecam włókno poliestrowe lub silikonowe. Ja użyłam wkładu z poduszki. Aby wypychany przedmiot miał ładny kształt bez zgrubień i pustych przestrzeni należy urywać małe kawałeczki wypełnienia i delikatnie je wkładać. Należy unikać robienia kulek. Przy wypełnianiu pomocna jest długa pęseta.
I recommend silicone or poliester fiber to fill. I’ve used the contribution from the pillow. In order that pulled object had a nice shape without protrusions and voids must tear off small pieces, filling and gently insert it. Avoid making beads. Long tweezers is helping when filing.
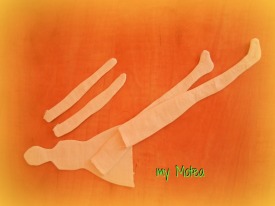
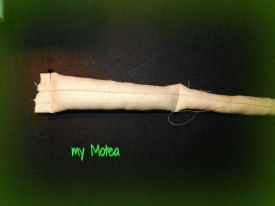
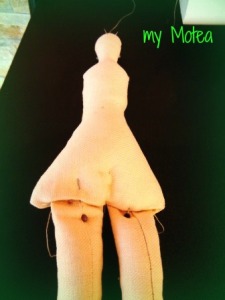
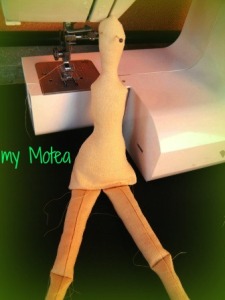
Jeśli chcemy aby nasza lalka miała nogi zginające się w kolanach należy zaznaczyć szpilkami miejsca kolan na tej samej wysokości na obu nogach. Następnie przeszyć na maszynie. Czynność tą możemy wykonać również w rękach lali. Aby łatwiej wszyć nogi do tułowia zszywamy je na końcach.
If we want to have our doll legs bending at the knees we should select location knees at the same height on both legs by pins. Then sew on the machine. This operation we can perform also in the hands of the doll. To help sew the legs to the torso sew them on the ends.
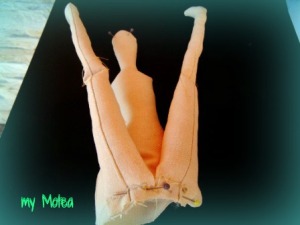
Mocujemy szpilkami nogi do prawej strony przedniej części tułowia lalki i przyszywamy na maszynie. Jeżeli nasz szablon ma stopy należy przymocować je tak, aby znalazły się w odpowiednim miejscu (palcami w kierunku głowy). Używając szablon bez wyodrębnionych stóp możemy zdecydować czy chcemy aby szew był widoczny z przodu bądź boku nogi przyszpilając odpowiednio nogi.
We attach feet with pins to the right of the front of the torso doll and sew on the machine. If your template has feet you should fixed them so that they were in the right place (fingers in the direction of the head). Using the pattern without separate foot you can decide whether you want to have visible seam on the front side of the leg or the side of the legs pinning in the right way.
Tylną część materiału tułowia podwijamy do środka, zabezpieczamy szpilkami i zszywamy na maszynie lub ręcznie szwem na okrętkę.
We roll up the rear portion of the material inside the trunk secure with pins and sew on the machine or hand stitching on the swivel.
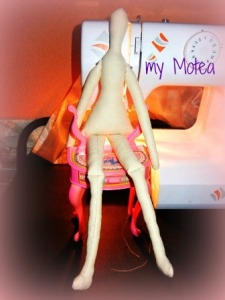
Następnie należy przypiąć szpilkami ręce do tułowia i przyszyć ręcznie. Trzeba zwrócić uwagę, aby ręce były umieszczone na tej samej wysokości. Ciałko gotowe, na koniec pozostaje wykończenie lalki w postaci włosów, rysów twarzy i ubrań.
Then, pinned her hands to the body and sew by hand. It should be noted that the hands were placed at the same height. Corpus ready, at the end we should finish her hair, facial features and clothing.
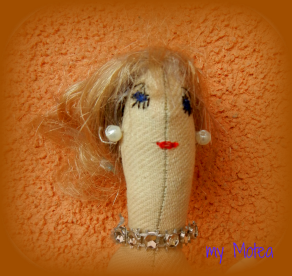
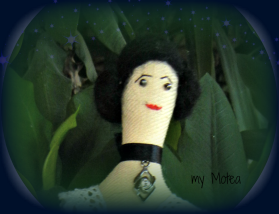 Eliz ma wyszyte oczy, brwi rzęsy i usta, zaś Eleonora oczy ma z małych koralików, a brwi i usta wyszyte.
Eliz has embroidered eyes, eyebrows, eyelashes and lips, and Eleanor his eyes with small beads and embroidered eyebrows and lips.

Dobry patetnt na wszywanie nóg 🙂 wykorzystam przy najbliższej okazji 🙂
LikeLike
Proszę pochwalić się efektem 😉
LikeLiked by 1 person
Bardzo dokładnie opisany tutorial, efekt niesamowity, piękne damy 🙂
LikeLike
Dziękuję bardzo, życzę dużo słonka. Pozdrawiam 😉
LikeLike